
|
NOTE: this page contains a lot of graphics.
I have made 'thumbnails' of most images. Click on an image to see the full size one. |
1. When we bought the 110 acres in New Brunswick,
there already was a cabin on it in the shape of a geodesic dome, built
by a German artist/author. It is two stories high with a trapdoor at the top
of the roof. Originally it was insulated, but vandals & hunters destroyed
a lot of the inside before we bought it.
The dome sits on a number of wooden stumps and concrete blocks. This
land used to be farmland - way back when.
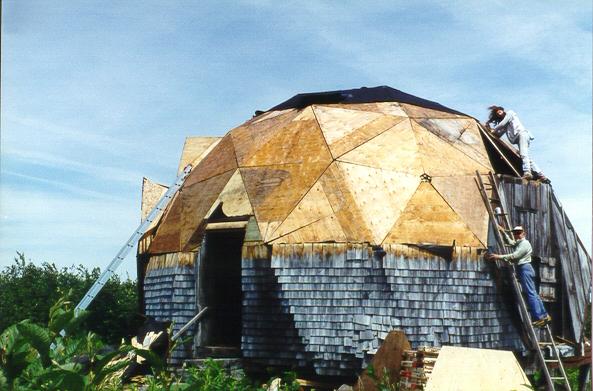
2. Here we are reshingling the dome. That's my Dad and brother, Oliver, in the photo. You can get an idea of the dimensions from this.
3. Here is a view of the completed Dome. (Missing!!)
![]()

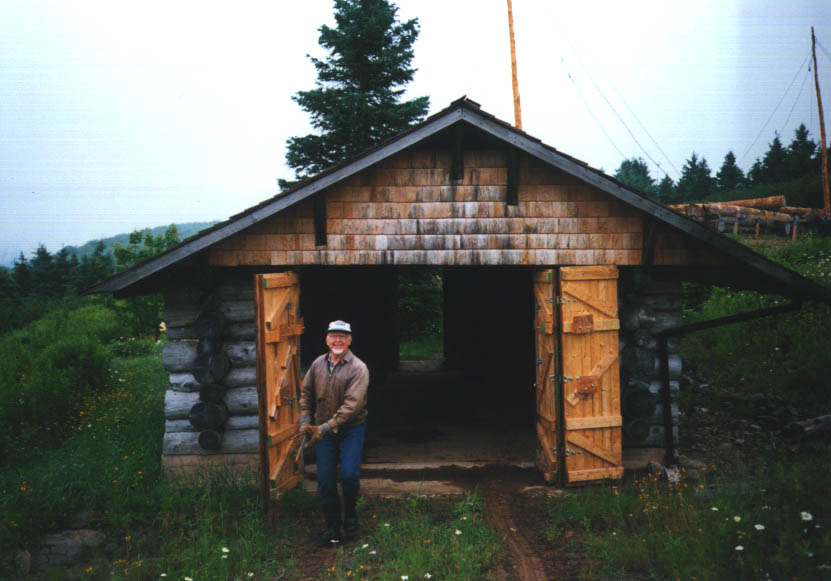
4. Summers of 1988 - 1991
Before building a house, it is wise to practice
on a smaller structure to learn the correct techniques and see what pitfalls
there may be. Dad built a garage. Over the next year or so, the logs settled
and shrunk a bit.
The picture below was taken in 1995. You can see the rigging for the main house
being constructed in the background.
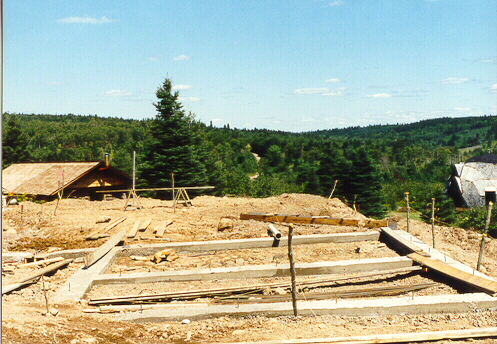
5. Summer of 1992 or before
Here are the foundations for the log house. You can also see the garage
and the Dome in the background.
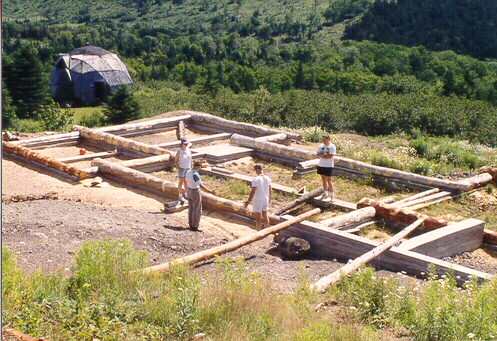
6. Summer of 1992 or before
Another foundation shot -- showing the size of the house. (Well, you still
can't see the far right corner; and there will be a car port on the centre
left.) The concrete foundations are under each wall as well as in the middle
of each room. The middle concrete strip is to support a log that will in turn
support the floor. All of the concrete foundations have iron rods sticking up
out of them that the lowest layer of logs sits on. (The bottom layer of logs is
more like half logs).

7. After the logs have been cut down and left to dry for 6 months or so in the forest, the limbs are cut off and they are dragged out by our old tractor along trails that we made. [Massey Ferguson, 1965, 52 power-take-off horse-power]
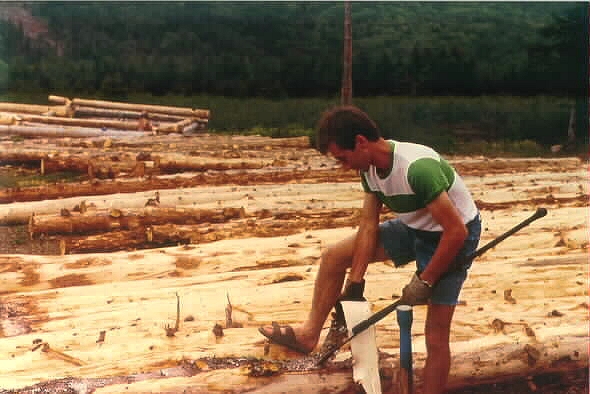
8. Summer 1995 or 1996
The logs all have to be peeled of course. If
they lie there too long, some sort of borer beetle goes under the bark
and starts to destroy the log.
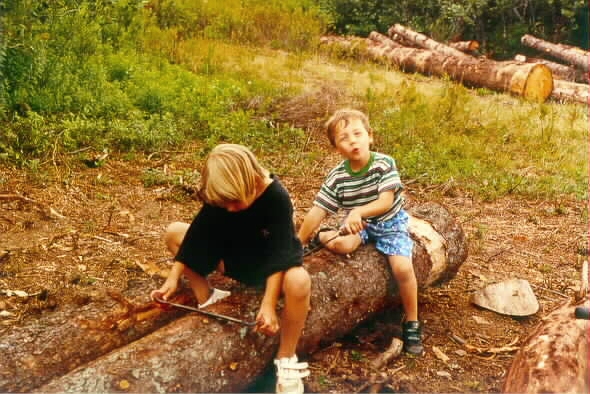
9. Summer 1995
Karen and Joshua are demonstrating how to use draw knives. (Note the ring
around the end of the tree that my Dad made to kill it 6 months before
felling it.)
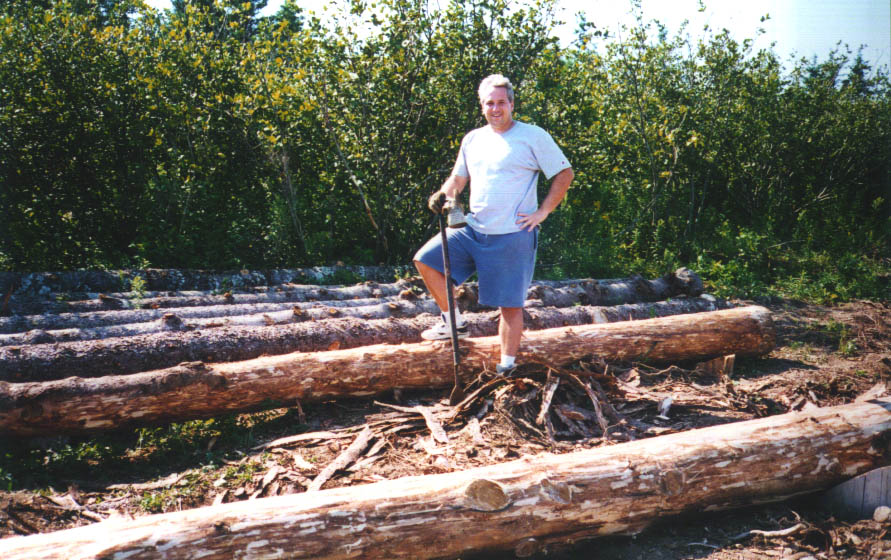
10. Summer 1995
I am using a "debarking spud". This works well as long as the bark is still
somewhat green (at least for spruce trees). If the bark is too dry it breaks off
in small chunks, not metre longs strips.
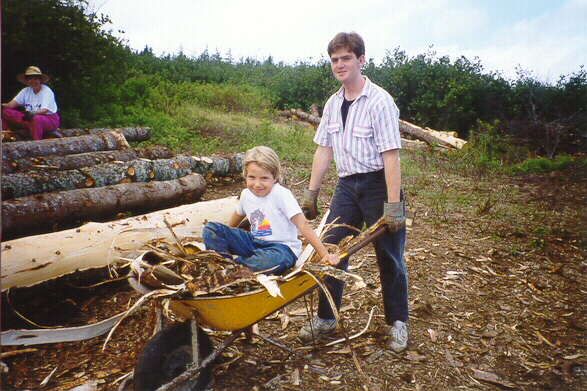
11. Summer 1995 or 1996
Here cousin Andrew is giving a ride to Karen in the 'bark-barrow'
while Liz continues peeling bark off logs!